To create your first Global Workflow action, follow these steps:
1. Go to the Global Workflow page in the Portal.
3. Name and enable the workflow.
5. Set up your actions & integrations.
1. Go to the Global Workflow page in the Portal.
- Log in to the Portal.
- Select Workflow on the left navigation menu.
- Select Global Workflow.
2. Create a New Workflow
- After you have reached the Global Workflow page, select New Workflow.
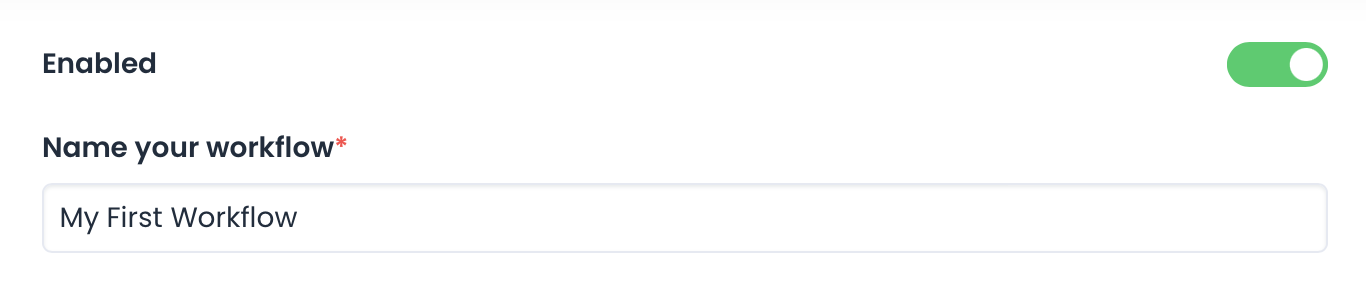
3. Name & enable your workflow.
- Name your workflow
- Enable your workflow with the toggle switch. This switch gives you more flexibility in managing active and inactive workflows within your account.
4. Choose your form.
- Choose a form to assign a workflow action.
- Choose Any to assign a workflow action across all of your forms.

5. Set up your actions & integrations.
- There is a diverse list of actions to choose from. Some of these actions and third-party integrations will need to be authorized with personal account credentials before use.
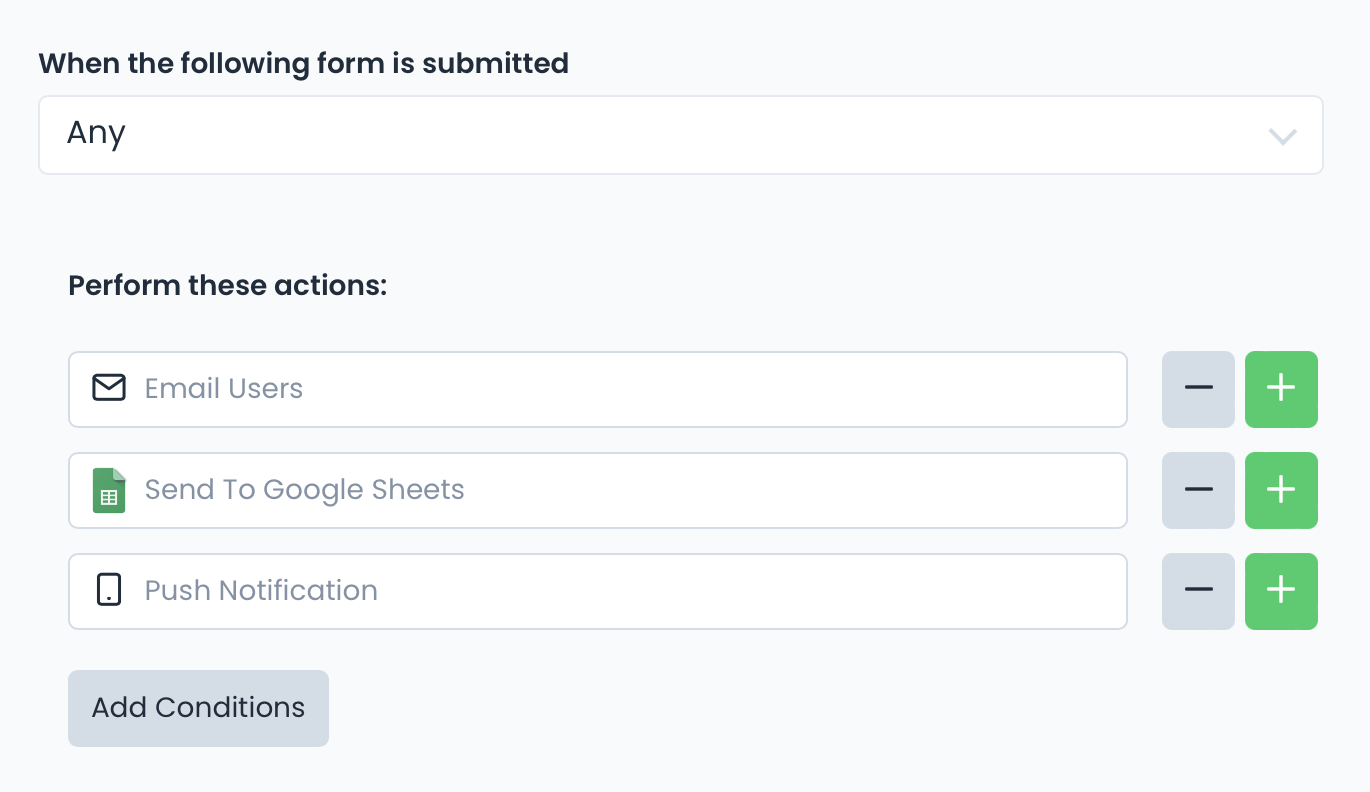
- In the example above, the delivery actions are set to Email Users, Send To Google Sheets, and Push Notification. These action sets will email a list of users, deliver a report to an authorized google drive account and send a push notification to users.
- The action set will trigger whenever a form is completed within the account.
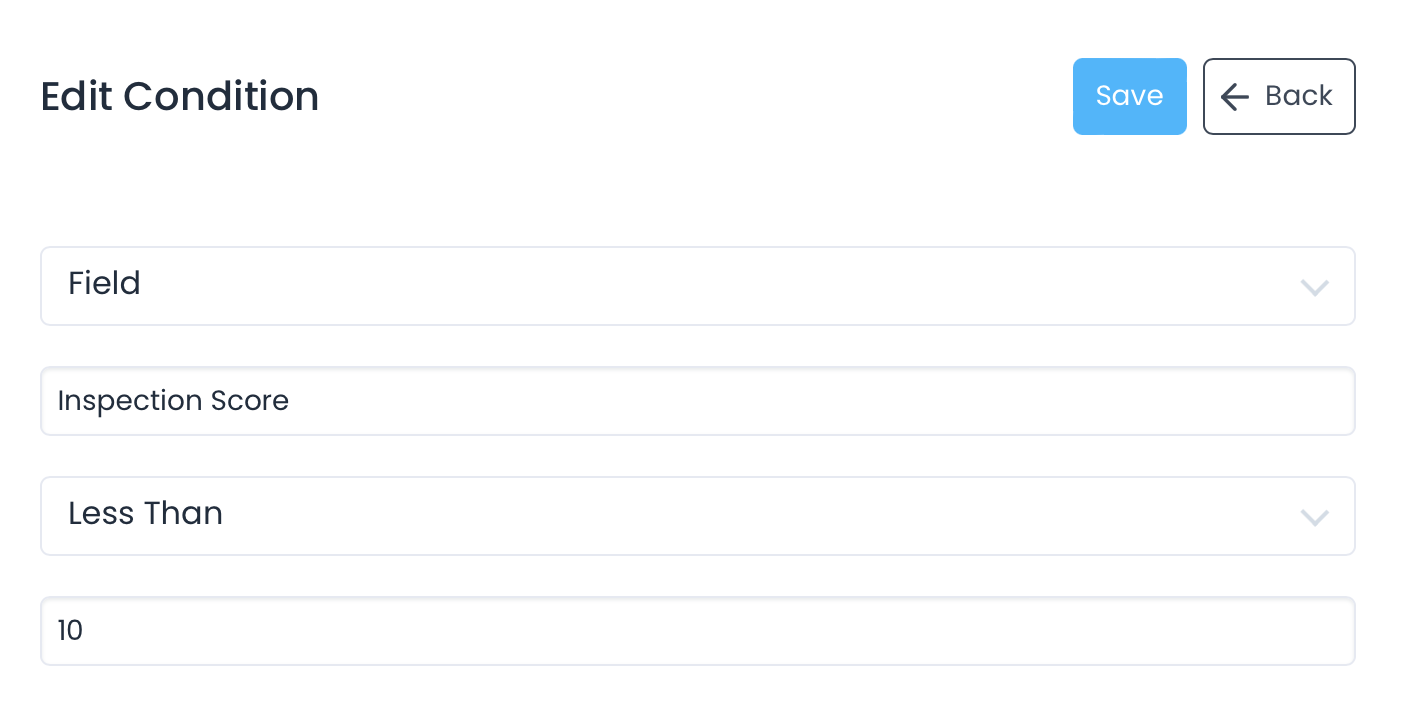
6. Add custom conditions.
- Optionally, you can add additional conditions that govern the workflow actions. The options here are limitless and will be very customizable to the data your forms are collecting. You will need to mindfully set up your forms and field keys to use the Field condition.
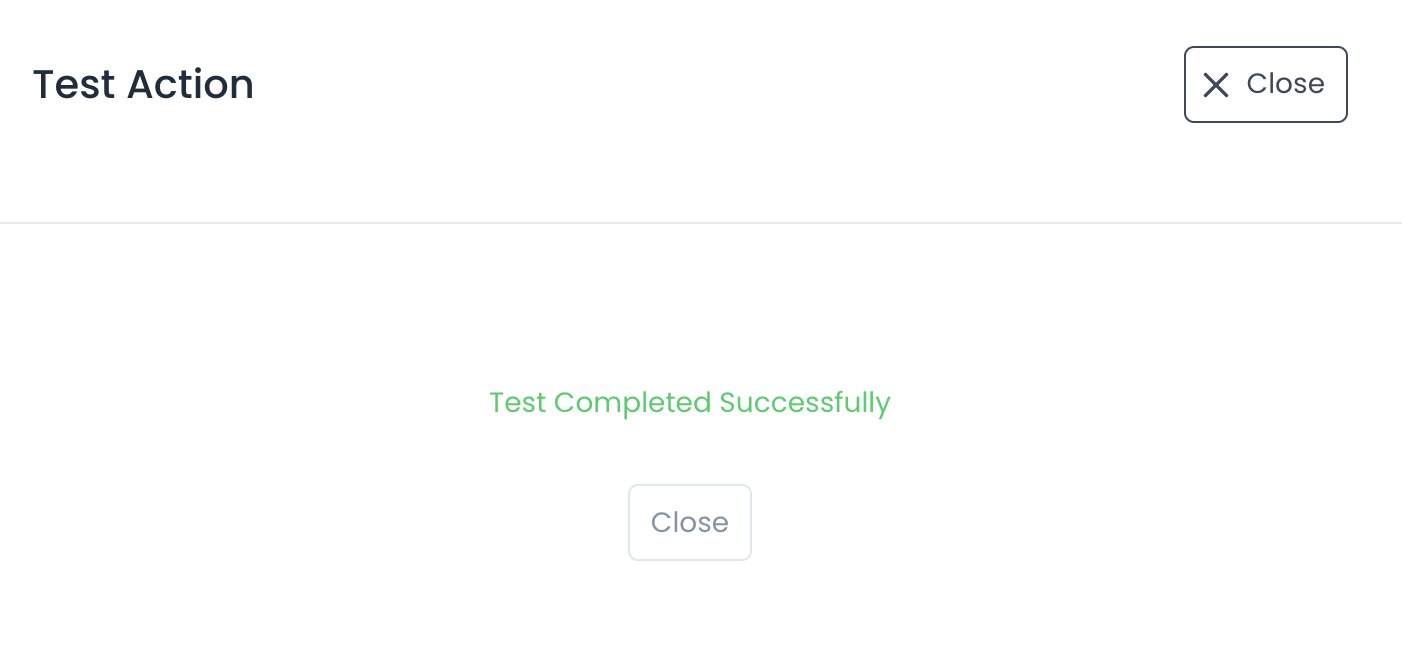
7. Test your conditions.
- You can test the individual actions within your workflow to ensure everything has been set up correctly and reduce downstream errors. To do this:
- Open your workflow and click on the condition you want to test.
- Click the Test button in the top right-hand corner of the screen.
-
- Choose one of your recent form submissions.
- FastField will then perform the test and show the results in that window.