Overview
We recommend avoiding submissions with over 500 photos, as this is the limit officially supported by our team. Clients can choose to exceed this limit, but doing so carries risks, such as potential challenges with internet stability, especially in areas with poor connections. Additionally, large submissions may lead to failed workflows, reports, and downloads. While there's no strict cap on photo numbers, going beyond the supported limit raises the chances of encountering these issues. For a smoother uploading experience, it's best to keep the app open until all images are uploaded and minimize the number of photos for better processing.
How to Add Photos to Custom PDF Reports:
1. Locate your form and navigate to the Report Builder.
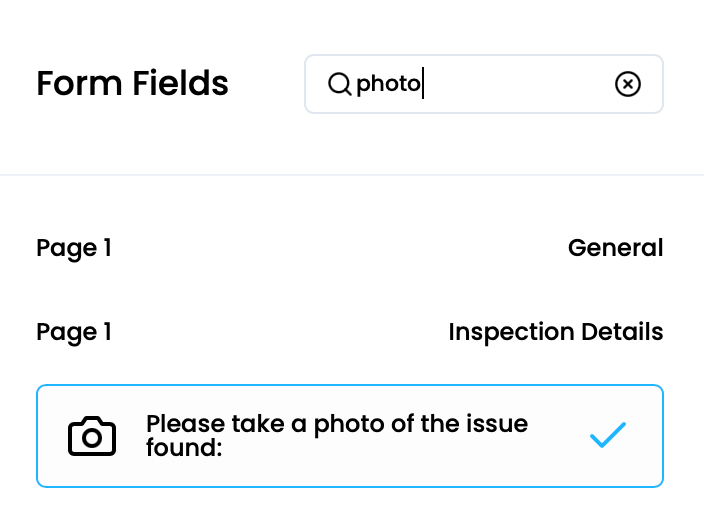
2. Find & click on your Photo field (Single or Multi) to add it to the PDF.
- You can use the search bar to easily find specific fields in multipage forms.
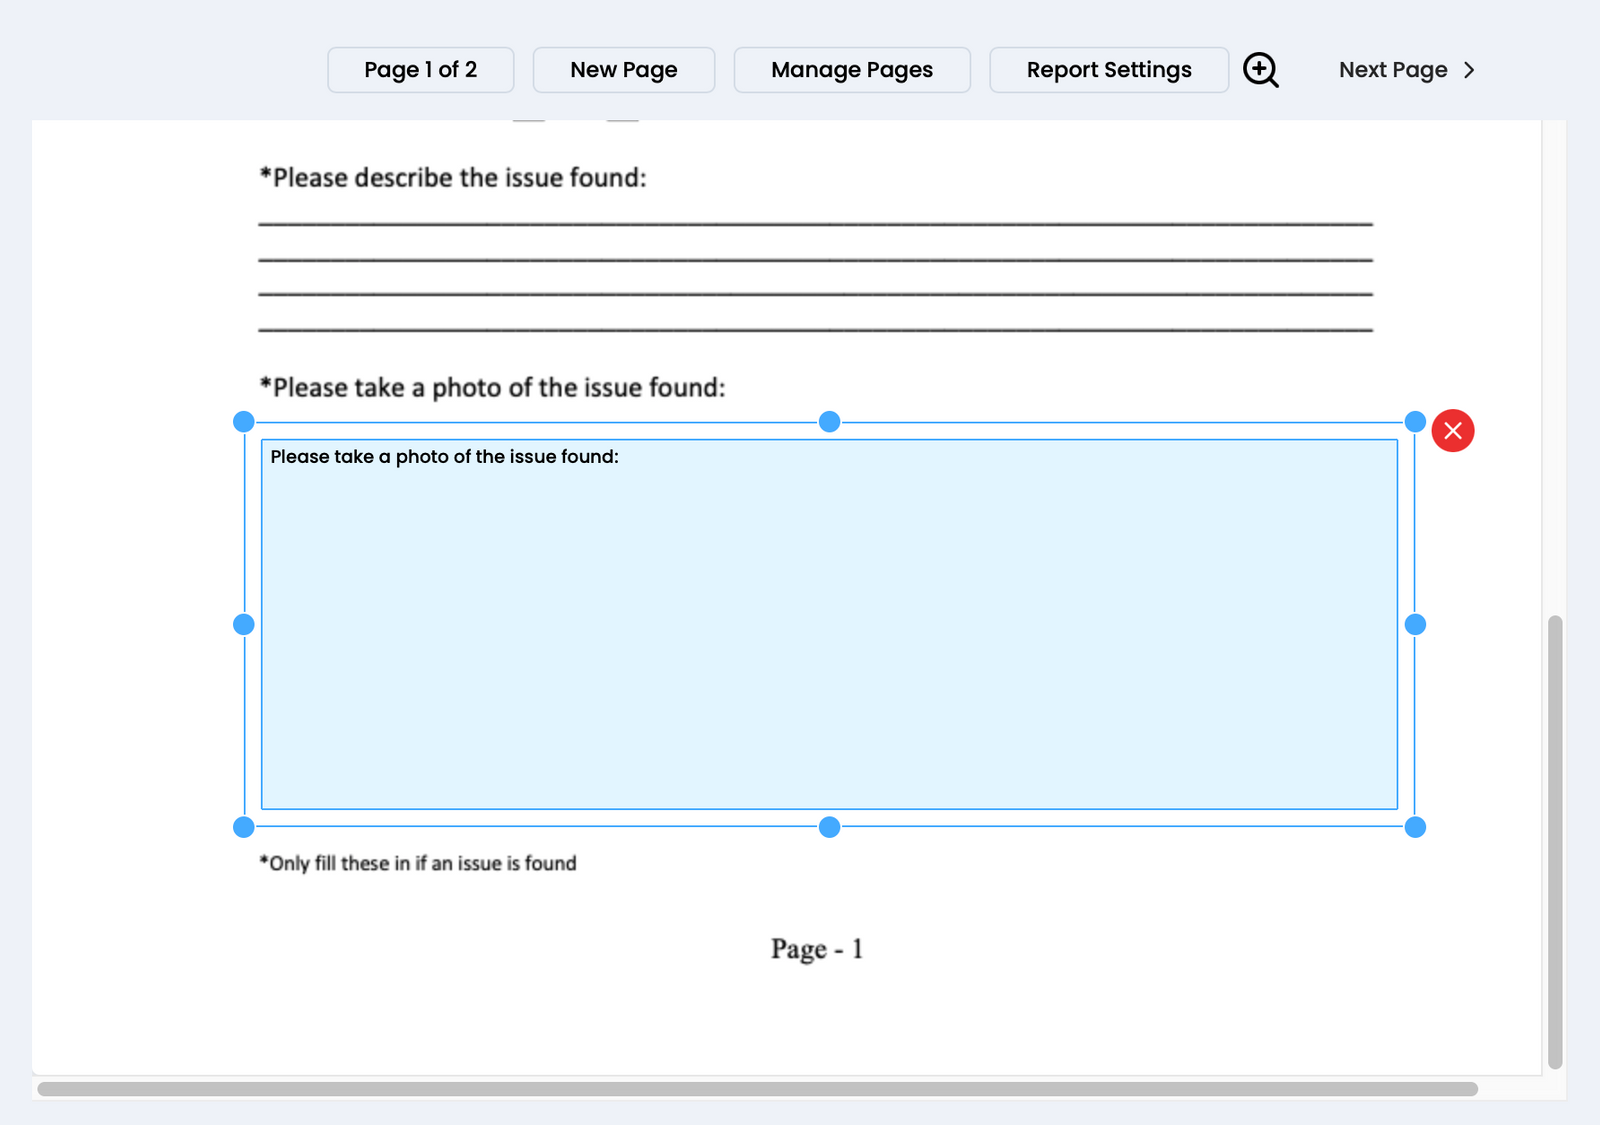
3. After clicking on the Multi Photo field, it will then appear in your PDF document. From here, you can edit the field and adjust its shape to the desired fit by using the bounding boxes.
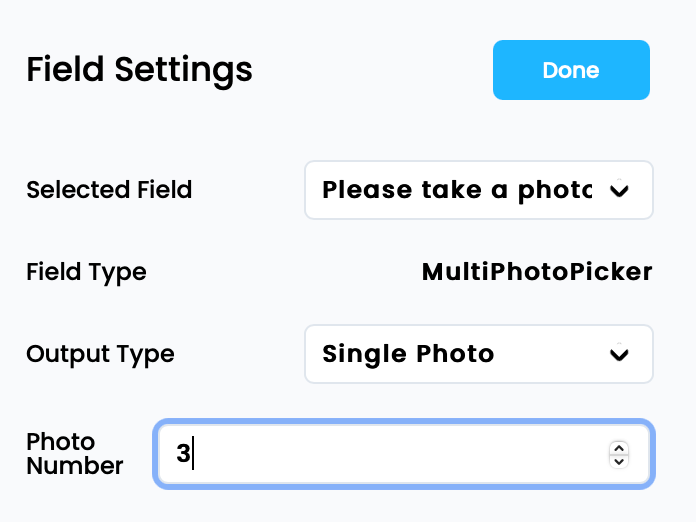
4. Once you have defined the shape of your bounding box, determine the data Output Type of the field in the field settings.
- Choose between Photos With Comments, Only Photos, Only Comments, Single Photo With Comment, Single Photo, and Single Comment.
- You can create separate bounding boxes for comments if you wish to separate them and locate them elsewhere in your PDF report.

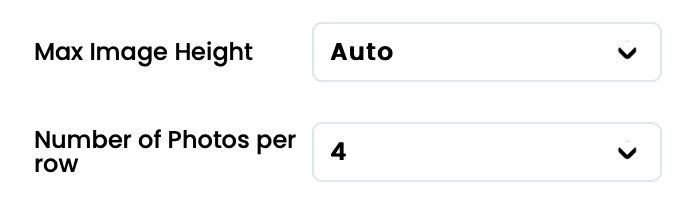
5. Format the rows and columns of the multi-photo field in the field settings to determine how the photos will populate.
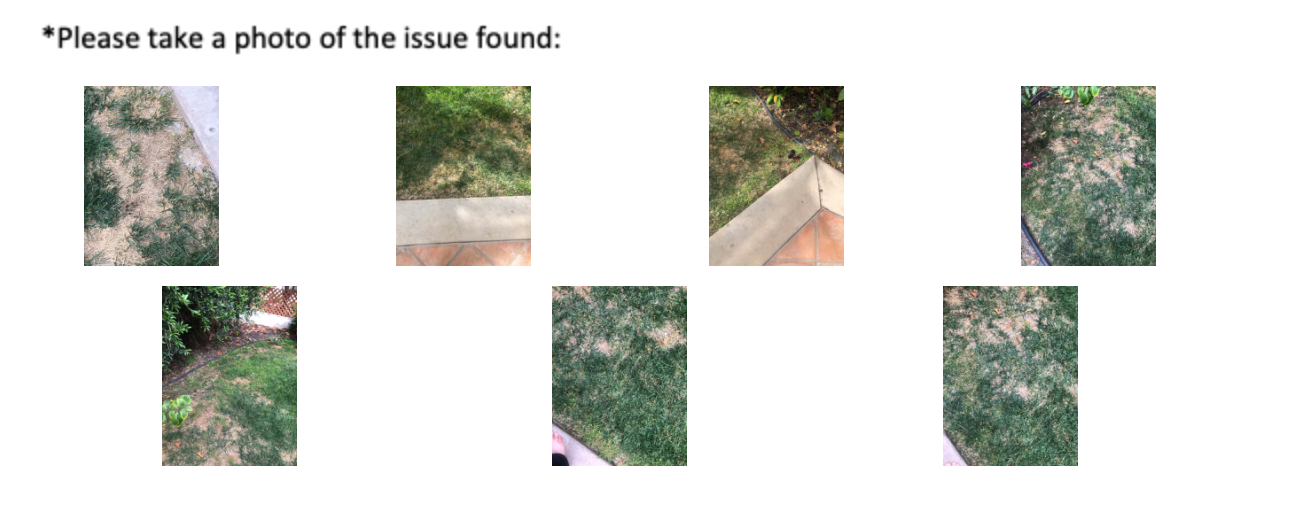
- In the example below, we used the auto-scaling feature and set the maximum amount of pictures per row to 4.
- If you have a defined size or area for individual photos, you can change the field properties to Single Photo and select the instance order of the pictures taken. Then, place the separately defined boxes with sequential instance numbers manually.