Overview
One of the most common uses for rules is to hide certain parts of a form unless a specific condition is met.
This can be easily done using our Field Rules feature.
For example, let's say you are building an inspection form that asks users to indicate Pass or Fail throughout. You can create a rule that asks users to provide notes and photos of an issue ONLY if they select Fail. If they select Pass, it would simply skip to the next question.
These "hide and show" rules help create a clean and organized form that only shows users what they need. Otherwise, the form could be overwhelming with too many fields.
*Note: The rules described below are only compatible with the following fields: Lists, Yes/No/NA, Rating, Switch. If you want to use rules with other fields, you will need to use our Scripts or Advanced Rules options.
How to Conditionally Show Fields or Sections
- All of your fields need to be created before you can create the rules. In order to show or hide fields, you need to be able to select them when setting up the rule.
- Here's how our sample form looks in the Form Builder:
- This is how our sample form looks in the FastField App before we apply any rules. Notice how much screen space is taken up by fields that may or may not be needed:
- Here's how our sample form looks in the Form Builder:
2. Click the chess piece (Rules) icon on one of your fields.
- In our example, we will create a rule for one of our Pass/Fail fields:
3. Click on the Add Rule button to start building a rule.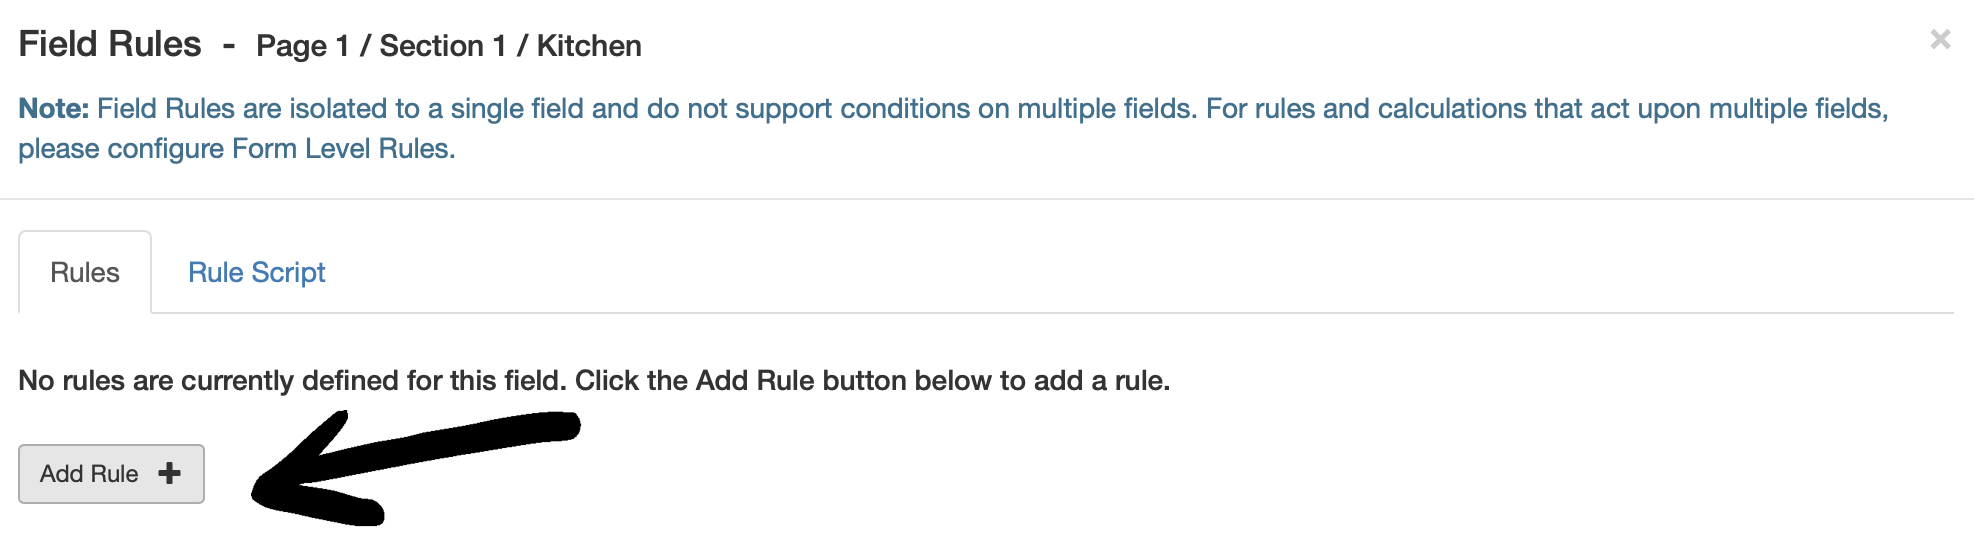
4. You will now see a number of other fields pop up to help you create your rule. Refer to the guide belowor details on each element:
- When ___: This refers to the field you have selected. It is the condition that should cause this rule to run. In our case it is When Kitchen because the name of the field we are on is Kitchen. The options are Equals or Does Not Equal.
- Value(s): This allows you to choose what value(s), when selected in the field list, should cause the rule to run. This works with the first dropdown; you select what values the rule should or should not equal in order to run.
- Perform action: This is what should be done to the target field if the conditions in the first two dropdowns are met. The options are Show, Hide, Enable, Disable, Required, or Not Required.
- Otherwise perform: This is the setting the target field should have if the conditions of the rule are NOT met. This dropdown has the same options as Perform action.
- On field or section: This is the target field or section that will be affected by the rule.
5. With the default settings for a new rule, all you need to do for a "hide and show" rule is input the Value
and the targets (On field or section).
- The rule in our example says, "When the Kitchen Pass/Fail field equals Fail, show the Comments and Photos fields. If Kitchen is NOT Fail, hide the comments and photos fields."
6. Continue to add as many rules as needed.
- In our example, we need to add rules to the rest of the Pass/Fail fields:
- Once all those rules are added, our form will look much cleaner on the mobile app and be far easier to fill out:
7. (Optional) Color the hidden fields (General Settings > Color).
- By adding color to a hidden field, it will make it more obvious to a user that a new field has suddenly appeared for them to fill out.
- In our example, we selected blue for all of the Comments and Photo fields. Notice how much more it stands out:
Support
If you would like a one-on-one walkthrough of how to create these rules, please reach out to your Customer Success Manager to schedule a meeting.
If any technical issues come up when setting up rules or anything else related to your form, feel free to reach out via chat or a support ticket and we'll be glad to help!